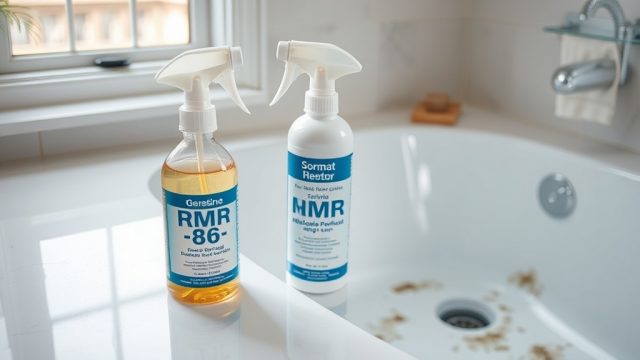
What Makes RMR-86 a Popular Choice for Grout and Tile Mold Removal?
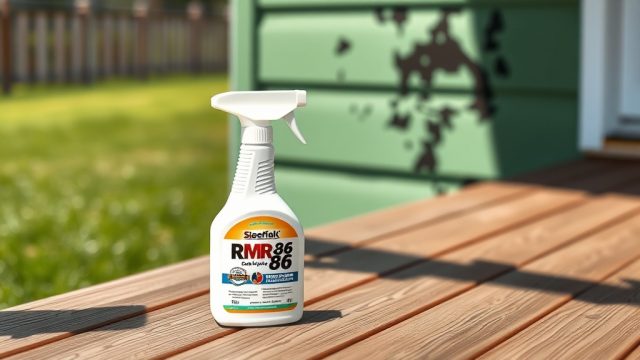
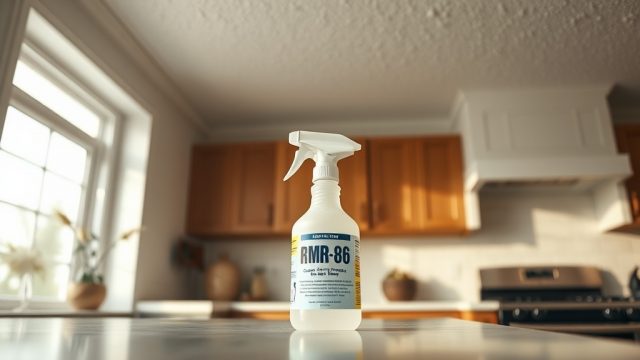
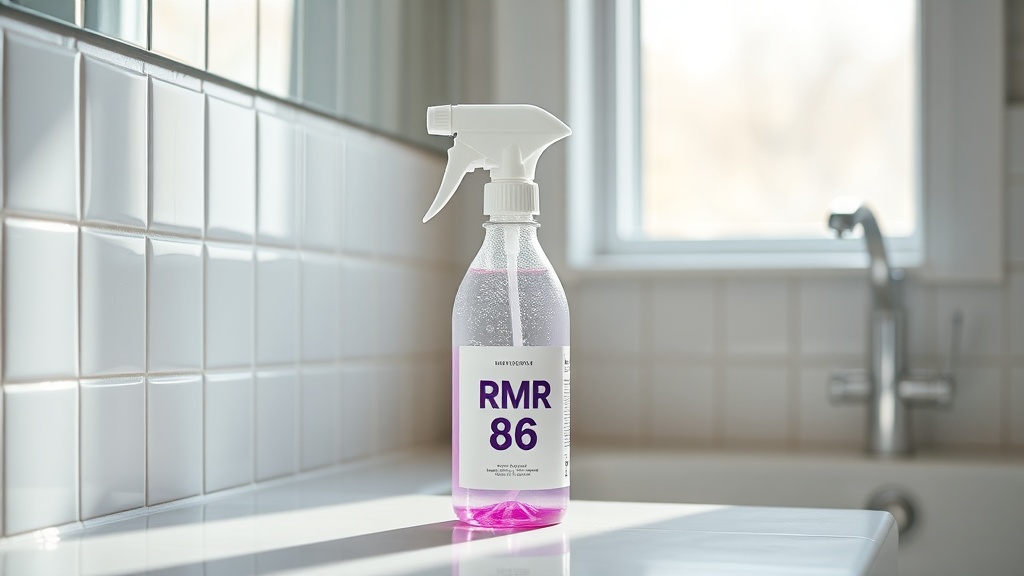
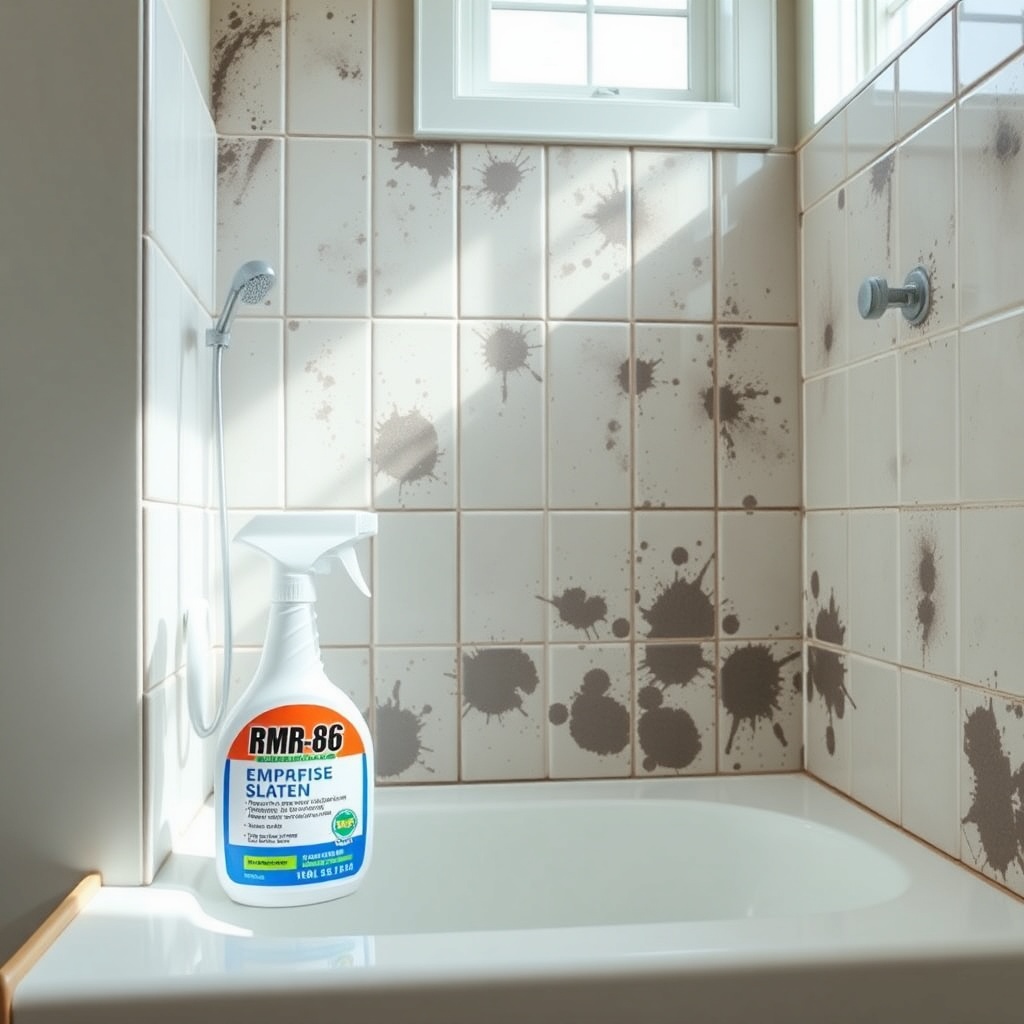
RMR-86 is a professional-grade mold stain remover that has gained a strong following among DIY enthusiasts and homeowners tackling tough mold issues on grout and tile. Unlike many household cleaners that require scrubbing, this formula is designed to lift and eliminate mold stains almost instantly on contact. For grout lines, which are porous and prone to deep discoloration, RMR-86 offers a fast-acting solution that can save significant time and effort. Users commonly report seeing results within seconds of application, making it an attractive option for those looking to restore bathroom surfaces without harsh manual labor.
The product works through a combination of oxygen-based bleaching agents and surfactants that penetrate porous materials. This is particularly effective on ceramic tile and cement-based grout, where mold roots can embed into microscopic crevices. However, because of its strength, proper handling and technique are essential to avoid damaging surfaces or causing personal harm. Understanding how to use RMR-86 correctly on grout and tile can mean the difference between a sparkling clean finish and costly repairs.
How Does RMR-86 Differ from Standard Bleach or Vinegar Solutions?
Many homeowners turn to household bleach or vinegar for mold removal, but these options have significant limitations on grout and tile. Bleach, for instance, typically only kills surface mold without penetrating porous grout, leaving roots intact that cause regrowth. While vinegar can kill some mold species, it is often too weak for stubborn, ingrained stains. RMR-86, in contrast, uses a proprietary blend that includes sodium hypochlorite at a higher concentration than most retail bleaches, combined with surfactants that increase dwell time on vertical surfaces.
This formulation allows RMR-86 to break down mold at a deeper level within grout pores. Tests show that standard bleach solutions may lighten mold temporarily, but stains often return within weeks. With RMR-86, the stain removal is more thorough, and many users report that treated areas remain clean for months, provided moisture control measures are in place. Additionally, RMR-86 dries quickly and does not leave a sticky residue common with some alternatives. For those considering this product, it’s important to note that it is not suitable for all surfaces, as its strength can etch certain natural stones or discolor colored grout.
What Preparation Steps Are Necessary Before Applying RMR-86 to Grout and Tile?
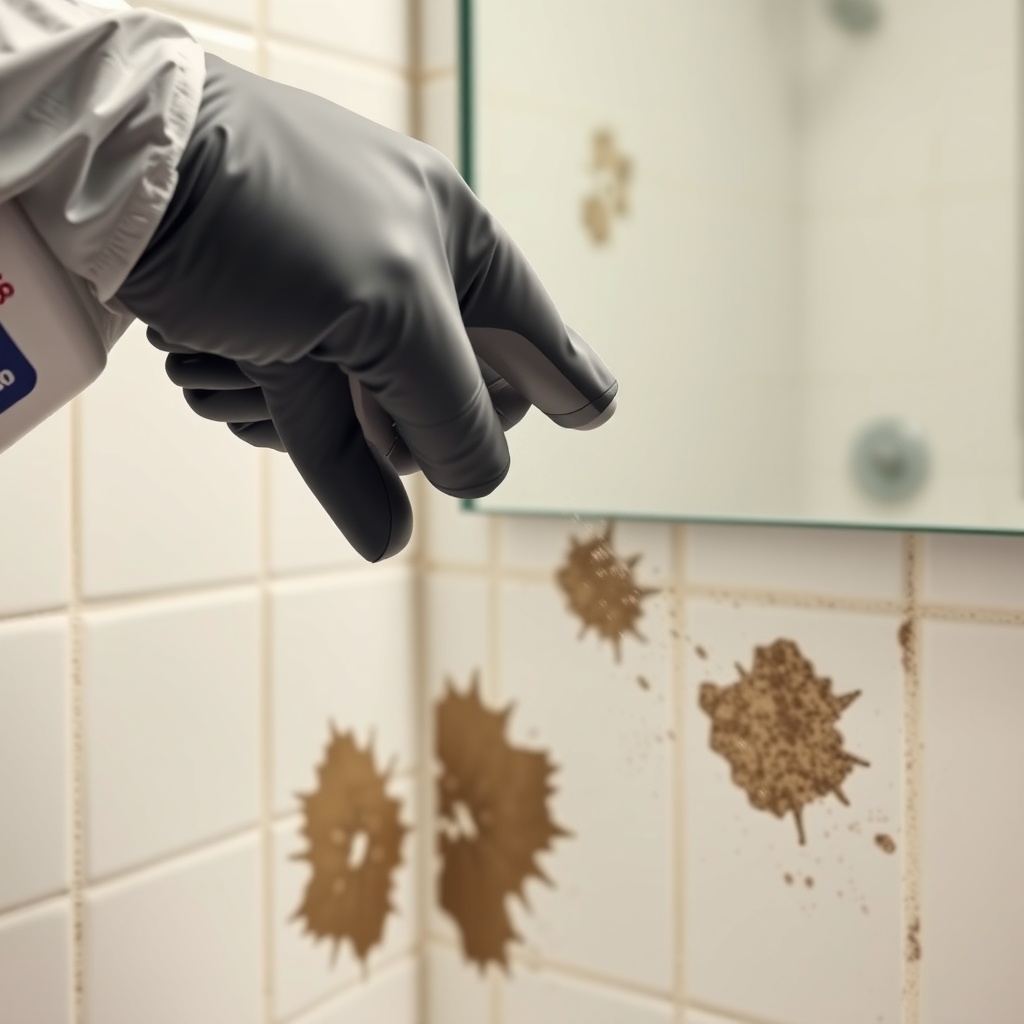
Proper preparation is critical for achieving optimal results with RMR-86 on grout and tile. Start by ensuring the area is well-ventilated by opening windows or using exhaust fans. The chemical fumes can be strong, so wearing a respirator or N95 mask is recommended. Before application, clean the surface with a mild detergent and water to remove any loose debris, soap scum, or dirt. This allows the RMR-86 to directly contact the mold without barriers.
- Patch test: Apply a small amount of RMR-86 to an inconspicuous grout area or a spare tile. Wait 10 minutes and rinse. If discoloration or etching occurs, do not proceed on the entire surface.
- Protect adjacent surfaces: Cover nearby metal fixtures, acrylic tubs, or painted walls with plastic sheeting and painter’s tape. The chemical can cause pitting or discoloration on these materials.
- Gather supplies: You’ll need RMR-86 in a spray bottle, rubber gloves, safety goggles, a soft-bristled brush, a spray bottle with clean water, and microfibre cloths.
- Check grout condition: If grout is cracked or crumbling, repairing it before treatment is advised, as the product can seep into gaps and damage underlying materials.
For detailed step-by-step instructions on applying RMR-86 specifically in shower environments, refer to our guide on How to Use RMR-86 on Shower Tile Grout: A Step-by-Step Guide. This resource covers timing, rinsing techniques, and common pitfalls to avoid.
What Is the Correct Application Process for RMR-86 on Grout and Tile?
The application process for RMR-86 is straightforward but requires attention to detail for safe and effective use. Here is the recommended method:
- Spray directly onto mold stains: Hold the bottle 6–8 inches from the surface and apply a generous, even coat. Avoid oversaturation, as excessive liquid can drip and damage lower areas.
- Allow dwell time: Let the product sit for 30 seconds to 2 minutes. For heavy mold, you may leave it up to 5 minutes, but do not let it dry completely on the surface.
- Monitor the reaction: As the mold lifts, you’ll see the stains fade or turn white. If dealing with thick mold, use a soft-bristled brush to gently agitate after dwell time.
- Rinse thoroughly: Mist the treated area with clean water using a spray bottle, then wipe with a damp microfibre cloth. For grout lines, use a small brush to ensure all residue is removed.
- Repeat if necessary: For deeply set stains in grout pores, a second application may be needed. Wait 24 hours between applications to avoid over-saturation.
One common mistake is leaving RMR-86 on for too long, which can damage grout sealant and cause the grout to weaken. Always time the dwell period carefully. After treatment, it’s crucial to remove all chemical residue, as leftover bleach agents can attract dirt over time. For post-treatment cleaning, using a Best HEPA Vacuum for Cleaning After RMR-86 Treatment helps capture any dust or debris that may have settled during the process.
How Does RMR-86 Perform on Different Types of Grout and Tile?
Performance of RMR-86 varies depending on the material composition of both grout and tile. The following table summarizes effectiveness and risks:
| Surface Type | Effectiveness | Risks & Precautions |
|---|---|---|
| Ceramic tile (glazed) | Excellent; stains lift in 30–60 seconds | Low risk; rinse quickly to avoid etching on glossy finishes |
| Porcelain tile | Excellent; resistant to chemical damage | Safe; patch test for matte or textured finishes |
| Cement-based grout | Very good; deeper penetration needed; may require 2 applications | Can lighten grout color if left too long; use short dwell times |
| Epoxy grout | Good; stain removal possible but slower | No risk; chemical-resistant; blot excess immediately |
| Natural stone tile (marble, travertine) | Not recommended | Etches and dulls surfaces; seek alternative products |
| Colored or tinted grout | Variable; may cause bleaching | Test inconspicuous area; consider grout re-coloring afterwards |
For those working with acrylic tubs, our guide on How to Use RMR-86 on Acrylic Tub Mold Stains: A Step-by-Step Guide provides specific techniques to avoid damaging the surface.
What Do Property Owners Say About Using RMR-86 on Grout and Tile?
Owner feedback on RMR-86 is generally positive, with many citing its speed and efficiency as standout features. One common theme in reviews is the dramatic improvement in grout appearance after a single treatment. Sarah M., a homeowner from Florida, reported: “I had black streaks in my shower grout that I thought were permanent. RMR-86 removed them in under a minute. I wish I had known about this product years ago.” Another user, James K., noted the importance of ventilation: “The fumes are strong, so I used a respirator and opened all windows. Results were worth the precautions.”
However, some users faced issues with colored grout losing pigment. For instance, a property manager in Texas found that RMR-86 lightened their beige grout to a pale cream. “It still looks better than mold, but I had to re-colour the grout afterwards,” he commented. Another point of feedback relates to overspray; several owners accidentally sprayed onto chrome fixtures, causing small etching marks. This underscores the need for careful masking. For those dealing with exterior mold on siding, our guide on Using RMR-86 on Vinyl Siding: A Complete Guide covers similar precautions with surface protection.
Despite these caveats, the majority of users recommend RMR-86 for persistent mold on standard grout and tile. Many note that after treatment, maintaining cleanliness is easier, and mold returns slower than with other products. One caution mentioned repeatedly is to avoid using RMR-86 on limestone or other calcareous stone surfaces, as it can cause permanent damage. For more information on that specific stone type, see Using RMR-86 on Limestone: Precautions and Tips.
Frequently Asked Questions
1. Can RMR-86 be used on colored grout?
It can be used but with caution. The product may bleach or lighten colored grout. Always perform a patch test in a hidden area first. If discoloration occurs, you may need to re-colour the grout with a grout stain product after treatment.
2. How long should I leave RMR-86 on tile grout?
For typical mold, leave it for 30 seconds to 2 minutes. For heavy stains, up to 5 minutes is acceptable, but do not exceed this. Longer dwell times can weaken grout and cause damage to tile finishes.
3. Is RMR-86 safe for use on natural stone tiles like marble?
No. RMR-86 is not recommended for natural stone tiles such as marble, travertine, limestone, or slate. The chemicals can etch and dull the surface. Use a specialized stone-safe cleaner instead.
4. Do I need to neutralize RMR-86 after application?
While not strictly required, thorough rinsing with water is essential to remove all chemical residue. Some users prefer to spray a mixture of water and vinegar (1:4 ratio) to neutralize any remaining bleach, then rinse again.
5. Can I use RMR-86 on epoxy grout?
Yes. Epoxy grout is chemically resistant, so RMR-86 is generally safe. However, apply gently and blot excess immediately. The product may work more slowly on epoxy compared to cement-based grout.
6. How often can I use RMR-86 on grout without causing damage?
For routine maintenance, use once every 3 to 6 months. Frequent use (more than once per month) can degrade grout sealant and weaken the grout structure over time. After treatment, controlling humidity with a Best Dehumidifier to Use After RMR-86 Treatment: A Complete Guide can help prevent mold regrowth and reduce the need for repeated applications.