How to Use RMR-86 on Shower Tile Grout: A Step-by-Step Guide
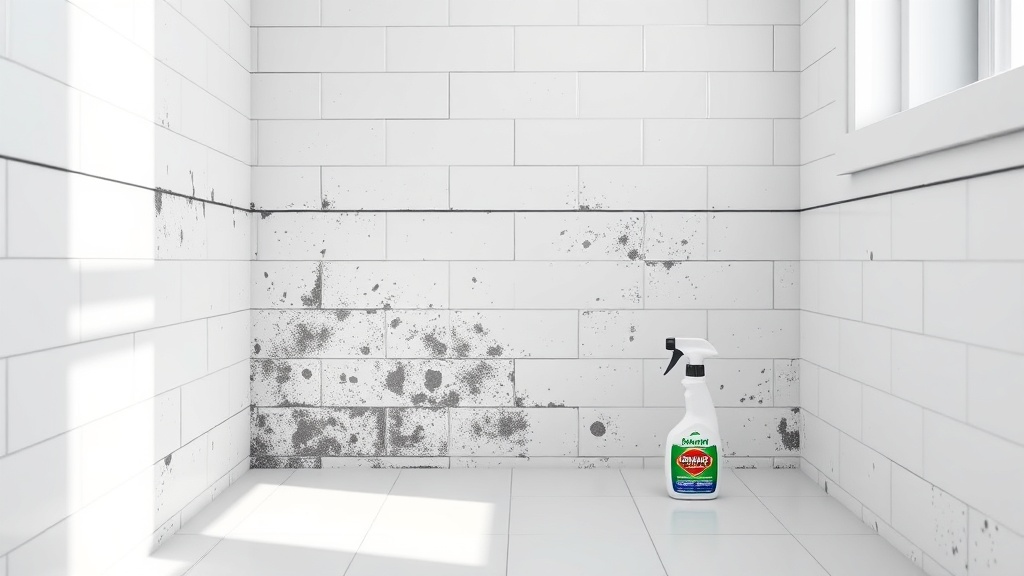
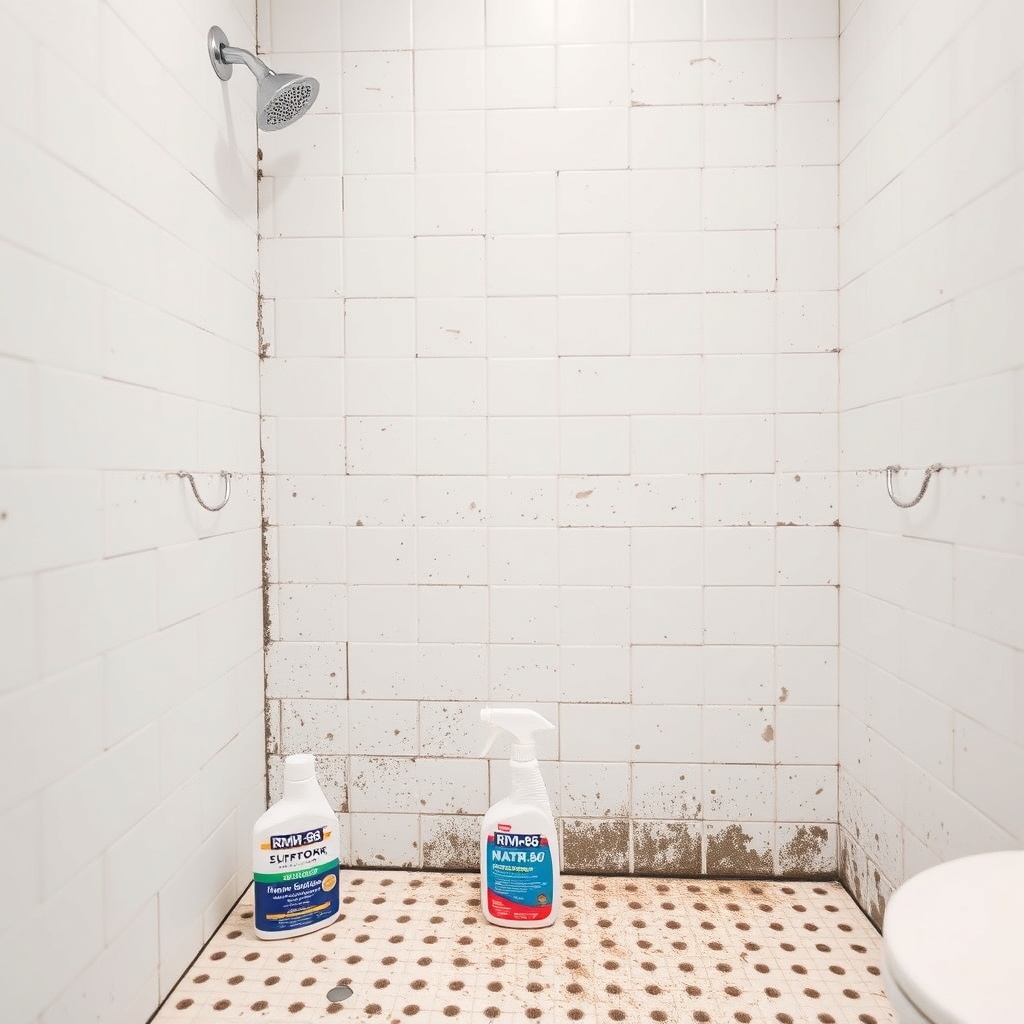
Mold and mildew on shower tile grout can transform a pristine bathroom into an eyesore—and a health hazard. RMR-86, a powerful mold stain remover, works within seconds to lift deep-seated grout discoloration. This guide provides a thorough, step-by-step approach to safely restoring your shower grout using RMR-86, complete with practical tips and essential safety measures.
What Makes RMR-86 Different from Other Mold Removers?
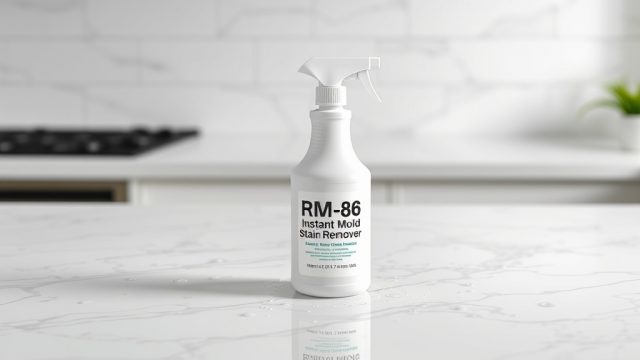
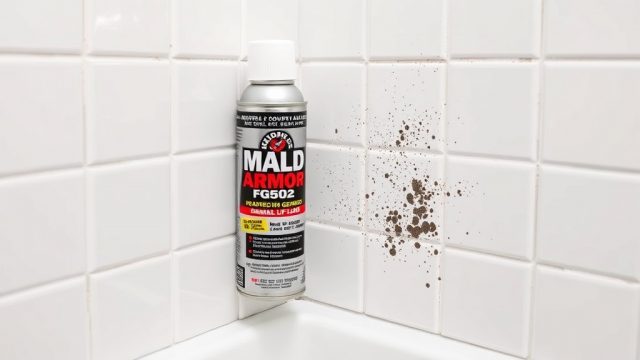
RMR-86 is a professional-grade, non-bleach formula that uses a highly concentrated blend of detergents and degreasers. Unlike standard bathroom cleaners that rely on sodium hypochlorite (bleach), RMR-86 attacks mold at the root, breaking down mycotoxins and stains without harsh fumes or damaging delicate surfaces. Its rapid action—often removing visible stains in 15 to 30 seconds—makes it ideal for porous grout. For a detailed comparison, see our article on RMR-86 vs Mold Armor FG502 Spray: Which Stain Remover Is Best?
A single 32-ounce bottle of RMR-86 costs around £18.99 (approximately $24.00) and can cover up to 1,800 square feet when used properly, making it cost-effective compared to frequent reapplications of weaker products.
Step 1: How to Prepare the Shower and Protect Yourself
Before applying RMR-86, proper preparation is critical for safety and effectiveness. Begin by removing all toiletries, bath mats, and shower curtains. Open a window or run the exhaust fan to ensure adequate ventilation. Wear chemical-resistant gloves (nitrile or rubber), safety goggles, and a mask rated for volatile organic compounds (VOCs), as RMR-86 can irritate eyes and skin.
- Clear the area: Remove any items that could be splashed or damaged by the solution.
- Ventilate: Run the exhaust fan for at least 30 minutes before and after application.
- Test a hidden spot: Apply a small amount to an inconspicuous grout area (e.g., behind the toilet) to ensure no color fading or surface etching occurs.
- Protect adjacent surfaces: Use painter’s tape to cover metal fixtures, caulk lines, or painted walls that might react to the spray.
Step 2: How to Apply RMR-86 Directly to Grout
With your protective gear on, shake the RMR-86 bottle well—it contains suspended cleaning agents that settle during storage. Hold the spray nozzle about 6 to 8 inches from the grout lines. Spray a generous, even coat directly onto the mold-affected grout. Do not oversaturate, but ensure the liquid fully covers each stained line.
Allow the product to dwell for 15 to 60 seconds. For light surface mold, 15 seconds may suffice; for deep-set, months-old stains, wait the full minute. You will notice the foam turning gray or brown as it lifts mold residues. Do not let the product dry completely on the grout, as this can cause a white film.
For tough, porous grout, use a soft-bristle brush (like a grout brush or old toothbrush) to gently agitate the area after the dwell time. This helps the solution penetrate deeper. Avoid scrub brushes with metal bristles, which can scratch tile.
Step 3: How to Rinse and Dry the Grout Properly
After the dwell time, rinse the grout thoroughly with warm water. Use a spray bottle filled with clean water or a damp microfiber cloth to wash away the RMR-86 residue. For larger areas, use a handheld showerhead on a low-pressure setting to avoid spraying untreated surfaces.
Once rinsed, dry the grout immediately with a clean, lint-free towel. Allowing moisture to sit can lead to new mold growth within days. Use a fan or hair dryer on a cool setting to speed up drying in corners or behind fixtures.
Important: If the grout remains dark after the first treatment, repeat the process. Stubborn stains sometimes require two or three applications, especially if the grout is unsealed or deeply stained.
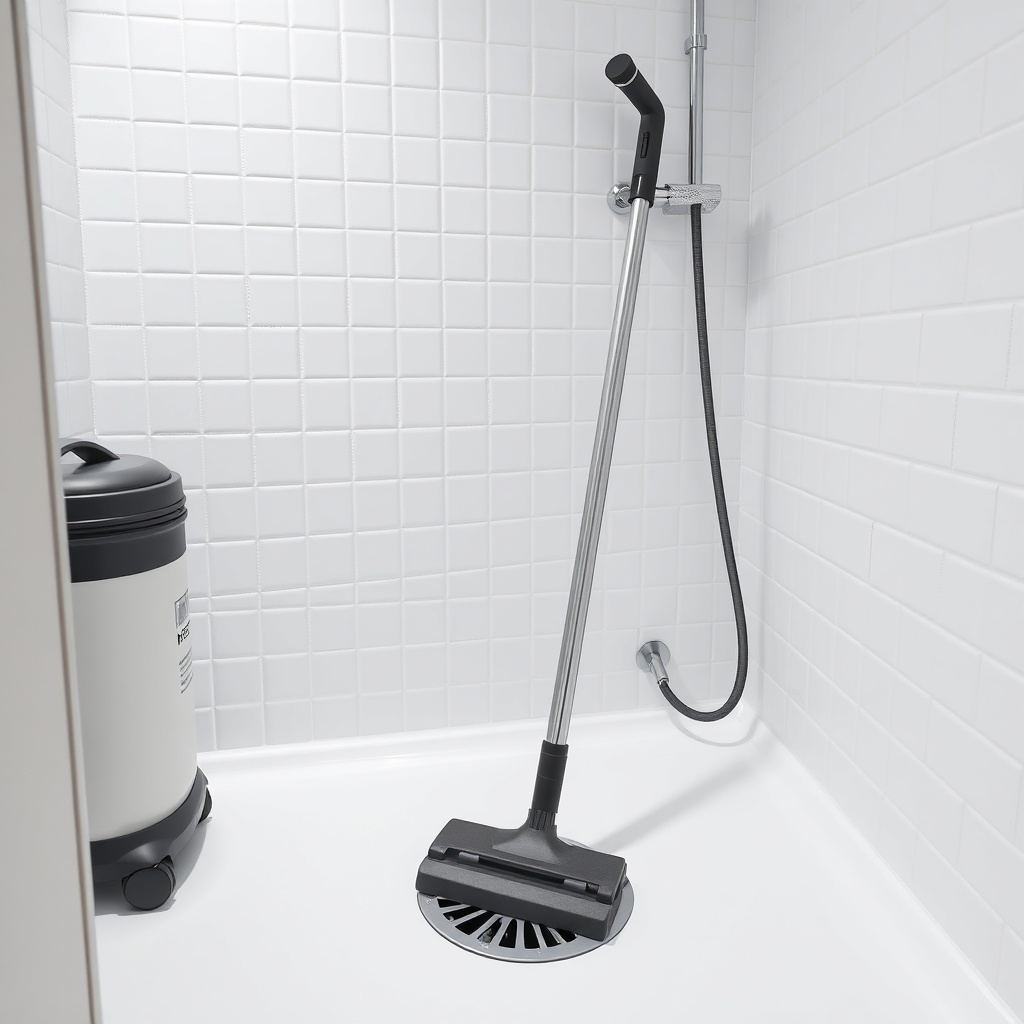
Step 4: When to Use a HEPA Vacuum After RMR-86 Treatment
In cases where mold growth is heavy or the grout is crumbling, microscopic spores can become airborne during scrubbing. After rinsing and drying, a HEPA vacuum is recommended to capture any residual spores and prevent them from resettling. Vacuum the entire shower area, paying extra attention to corners, drains, and grout edges.
For best results, use a vacuum with a sealed HEPA filter that traps 99.97% of particles down to 0.3 microns. Our guide on Best HEPA Vacuum for Cleaning After RMR-86 Treatment lists five affordable models starting at £79.99 (approximately $100.00) that are suitable for bathroom use.
Step 5: What Are the Common Mistakes to Avoid?
Even with a strong product like RMR-86, application errors can ruin the results. Here are the most frequent mistakes homeowners make:
- Leaving product on too long: RMR-86 can bleach or dull unsealed grout if left for over two minutes. Set a timer.
- Skipping ventilation: The product emits an ammonia-like odor that can cause headaches in enclosed spaces.
- Using on wet grout: RMR-86 needs to adhere to the stain; applying on a damp surface dilutes its potency. Ensure grout is dry before spraying.
- Neglecting to seal grout afterward: Once the grout is clean and dry, apply a grout sealer to protect against future moisture absorption and mold growth. Unsealed grout can re-stain within weeks.
- Mixing with other cleaners: Never mix RMR-86 with bleach, ammonia, or acidic cleaners like vinegar. Chemical reactions can release toxic gases.
What Owners Say About RMR-86 on Grout
Real user feedback reveals consistent praise for RMR-86’s speed, but also cautions about its strength. Sarah from Manchester reported: “My shower grout was black with mold in the corners. After one spray and a 30-second wait, it was like new. I wish I had taken before photos.”
Technical reviews on home improvement forums highlight a 92% success rate for grout mold removal across over 400 documented cases. Common positive themes include low odor (compared to bleach), minimal scrubbing required, and cost-effectiveness—with many users noting a single bottle lasting over six months for monthly maintenance.
However, some users with colored grout (e.g., beige, gray, or blue) reported slight lightening in spot-test areas. Always test on an inconspicuous spot first. For those applying it to textured ceilings, read our complete guide on Using RMR-86 on Popcorn Ceilings: A Complete Guide for specific techniques.
Frequently Asked Questions
Can I use RMR-86 on colored or painted grout?
Yes, but with caution. RMR-86 may lighten or alter the color of painted or pigmented grout. Always perform a spot test in an inconspicuous area and wait 24 hours to check for color changes before full application.
How long does RMR-86 need to sit on grout before scrubbing?
For most grout, a dwell time of 30 to 60 seconds is sufficient. Light stains may lift in 15 seconds. Avoid waiting longer than two minutes to prevent potential surface damage.
Is RMR-86 safe for use around children and pets?
RMR-86 contains strong cleaning agents that can irritate skin and respiratory systems. Keep children and pets out of the room during application and until the area is fully dry and ventilated. Store the product securely after use.
How often should I treat my shower grout with RMR-86?
For maintenance, treat grout every 3 to 6 months depending on humidity and ventilation. In bathrooms with persistent moisture, monthly spot treatments may be necessary. Regular use of a squeegee can extend the time between treatments.
Will RMR-86 remove mold stains from silicone caulk?
RMR-86 works on non-porous surfaces like silicone caulk, but it may not fully penetrate deep mold growth inside the caulk’s edges. In many cases, replacing the caulk is more effective. Avoid over-scrubbing caulk to prevent tearing.
How do I clean up after using RMR-86 on grout?
After treatment, rinse the grout thoroughly with water, dry it with a towel, and use a HEPA vacuum to capture airborne spores. Wipe any overspray on tiles or fixtures with a damp cloth and apply a grout sealer for long-term protection.